
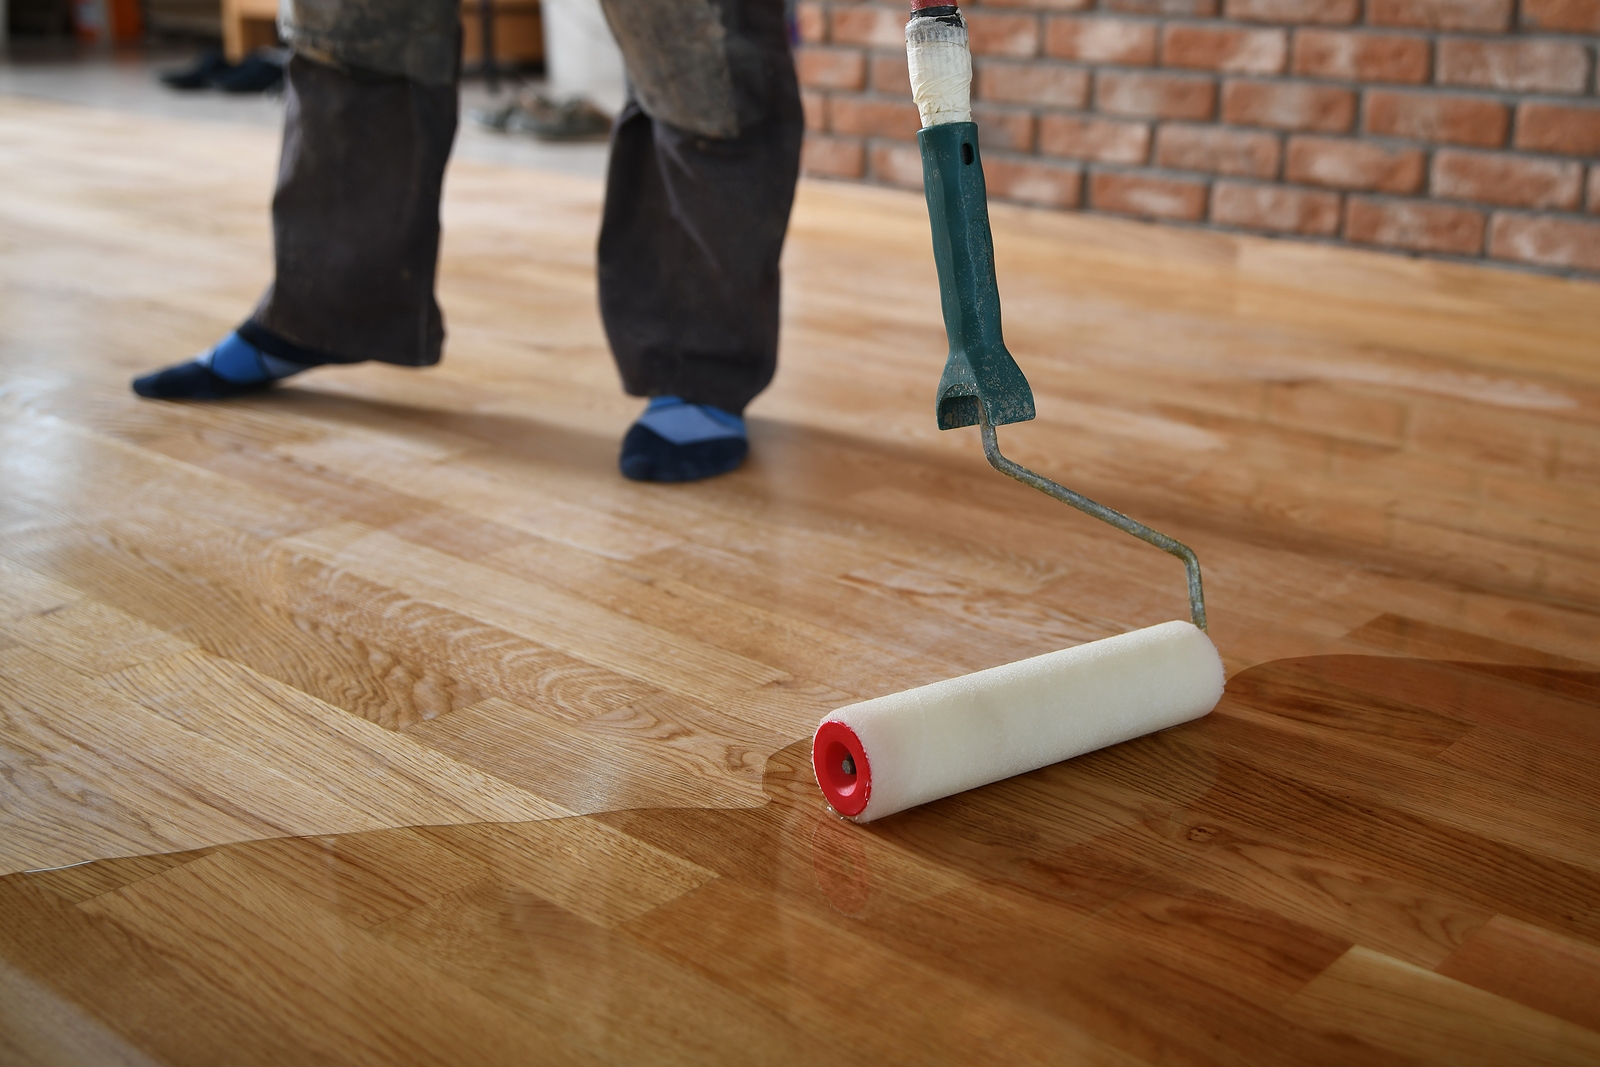
Hardwood timber floor installation may seem like an impossible process for the average homeowner to do, and some people just aren’t cut out for DIY projects. Planning and knowledge are the keys to a stunning hardwood timber floor. This essay is not a how-to on laying a hardwood timber floor; rather, it focuses on avoiding frequent mistakes. I hope these five suggestions will be helpful to the courageous individuals who are embarking on this endeavor.
Check the Subfloor
A hardwood timber floor is useless if the subfloor is in bad shape. Subfloor elevation variations of less than 3/16 inches over a 6-foot length are required. The subfloor may be made even in a few ways. When OSB or plywood isn’t properly fastened to the wall, adding a few screws is the simplest solution. For more extreme cases, one may design the joists or even install an extra sheet of plywood filled with the proper “filler” to create uniformity.
Allow the Wood to Air Out
Wood expands in response to an increase in moisture and shrinks in response to a decrease in moisture. Changes in the direction of the grain in wood are known as a movement. A hardwood timber floor needs time to adjust to its new environment before it can be placed.
Insufficiently seasoned wood will contract during the winter and expand during the summer, causing gaps and possible cupping. To prevent this, be sure to operate the air conditioning or heating at regular settings and to open and spread out the boxes for approximately a week. A hardwood timber floor should never be kept in a damp area, such as a basement, that has not been completed.
Even after acclimatization, the wood will expand and contract in response to changes in humidity. This is why a space of approximately 1/4′′ should be left all the way around your installation. Do not fret; this is hidden by molding and baseboard. Many types of engineered wood do not need acclimation, making them a good option if moisture is a problem in your location.
The Front Row Has to Be Perfectly Straight
Installing the initial row of hardwood timber floor squarely is crucial since subsequent rows will be placed in relation to it. If the initial row is off, the whole layout will be skewed. Since exterior walls are seldom square, it’s a good idea to make a mark on the opposite interior wall from where you want to begin.
It’s important to put the hardwood timber floor perpendicular to the joists, so be sure to mark their positions. Do not miss a chance to screw a fastener into a joist. Think about the difficulties posed by things like the fireplace hearth and how alternative beginning places could simplify the task.
The Planks Should Be Nailed and Glued on the Top
There will be times, as when you’re placing the final board when the flooring nailer just won’t fit. These boards will need either a top nail or a face nail at some point. Wood glue in hand, run a bead down the board’s groove. Wedge these boards firmly in place using scrap wood and a pry bar. Hold the finish nailer firmly enough, so it doesn’t bounce around and leave marks on the board.
Get or Lease the Appropriate Equipment
Don’t mislead yourself into thinking a jig saw would do for rip cuts or that a pneumatic flooring nailer isn’t necessary. The installation process will go more smoothly, and the hardwood timber floor will appear nicer if you have the proper equipment.
Each installation of hardwood timber floor has its own unique set of difficulties. These suggestions should help you deal with a few of them. You’ll be well on your way in no time at all if you put in the time and effort into planning and getting a head start.